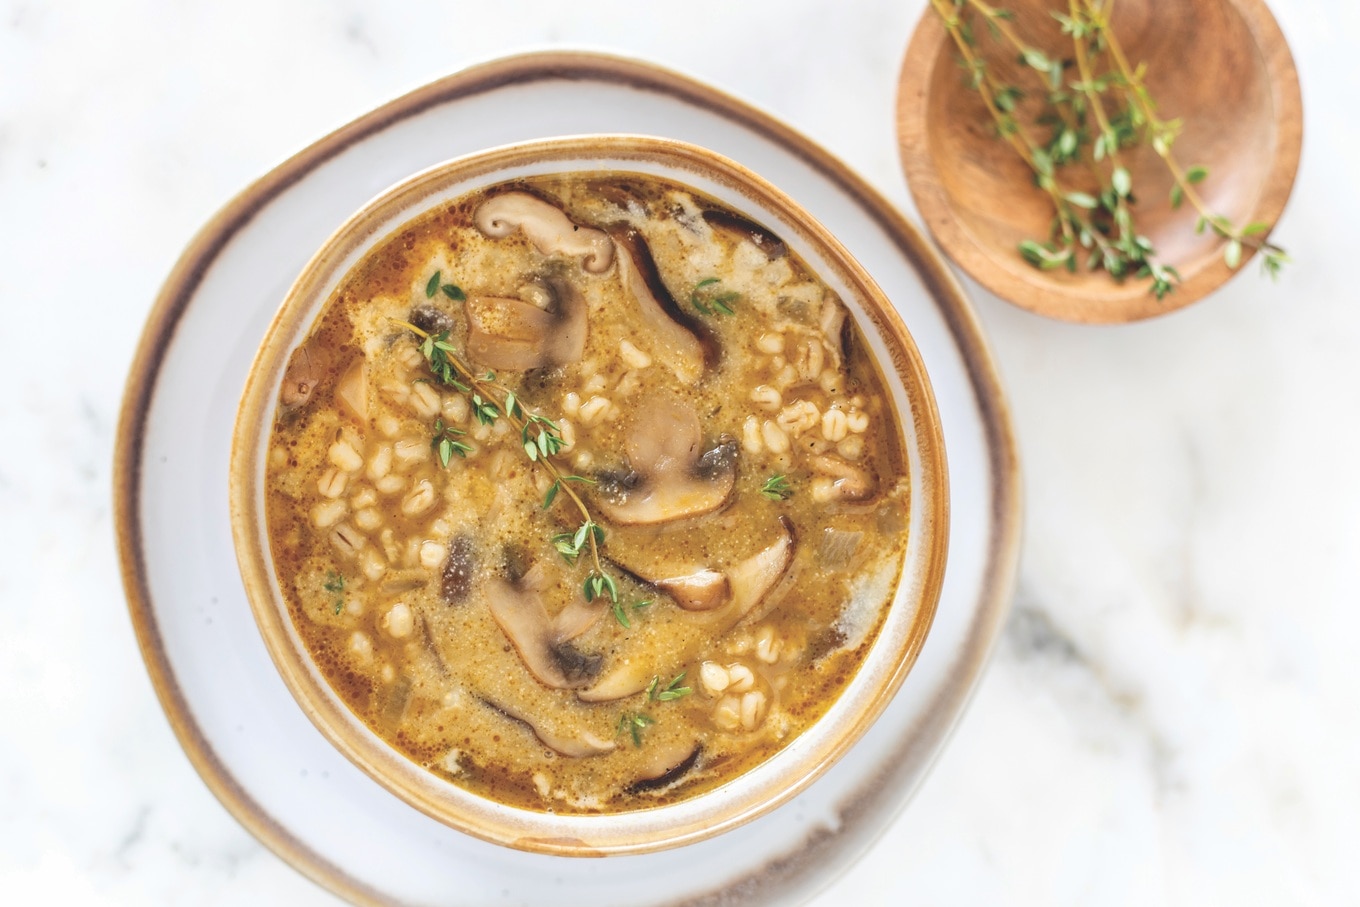
Mini vegetable pot pie is the perfect entrée option for a winter dinner or holiday gathering.
These adorable little pies are packed with vegetables and chickpeas in a luxuriously creamy cashew sauce.

There’s something extra special about an individual pot pie.
It feels like a present.
“You made this just for me?”
A saucy filling is loaded with onions, carrots, celery, green peas, potatoes, and chickpeas.
Unbelievably, the creamy sauce is made without a drop of dairy! It gets its body by way of raw cashews.
Then it’s finished with a flaky, buttery crust on top.
Each bite feels so comforting and cozy.
Perfect for a chilly winter day!
And it’s eye-catching enough it can easily be served on holidays like Thanksgiving or Christmas.
These delectable pot pies can satisfy any guest.
Table of Contents
Ingredients
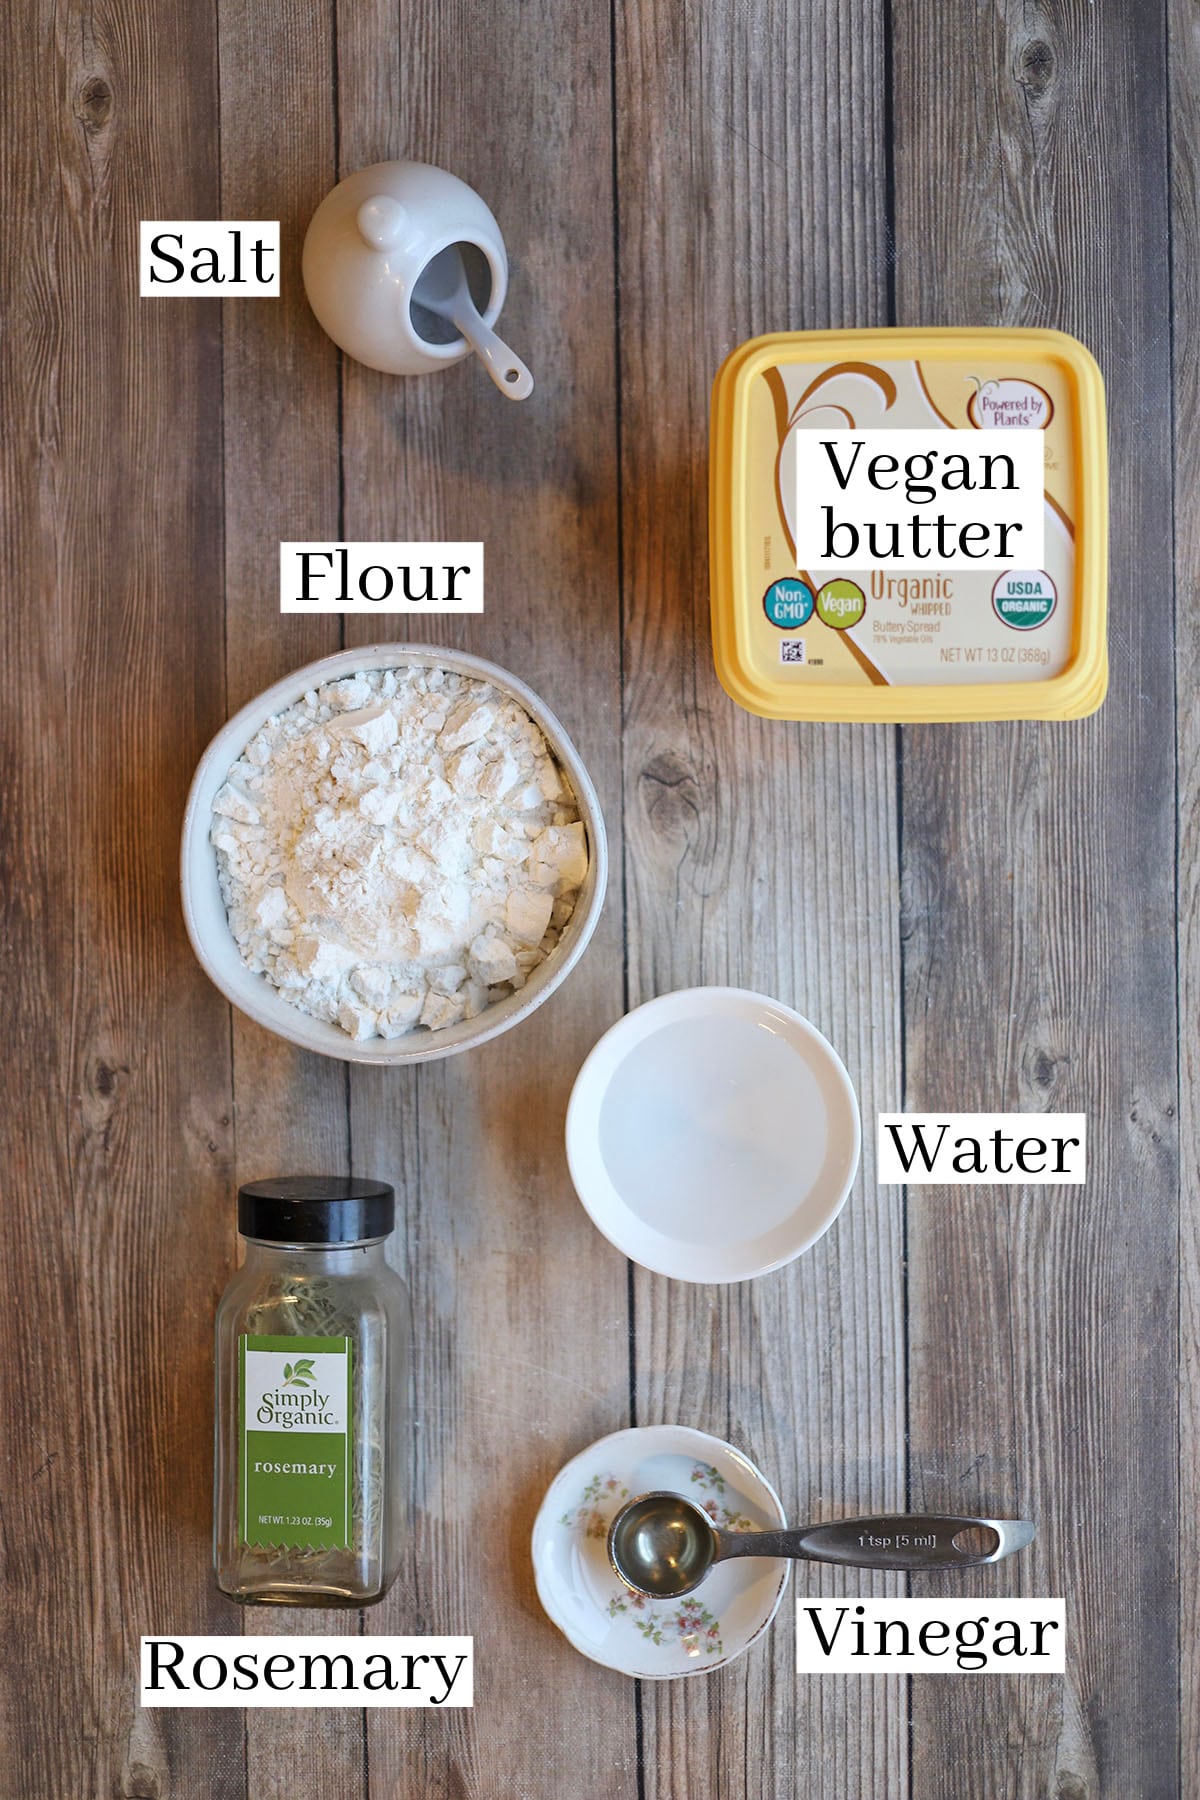
Here are the ingredients you will need for the pot pie dough.
- All-purpose flour
- Salt
- Dried rosemary
- Vegan butter
- Ice water
- White wine vinegar (or rice vinegar)

Here are the ingredients you will need for the pot pie filling.
- Raw cashews
- Water
- Extra virgin olive oil (or your preferred neutral-flavored oil)
- Chopped onion
- Minced garlic
- Sliced celery
- Dried herbs: Rosemary & basil
- Bouillon (Better Than Bouillon, no chicken base is my favorite)
- Sliced carrots
- Chopped potatoes
- Green peas (fresh or frozen)
- Salt
- Chickpeas (Reserve the liquid from inside the can to use as vegan egg wash!)
Pot pie containers
For the pot pie containers, I like to use 8-ounce mini cocottes.
8-ounce ramekins will also work.
Whatever you use, just make sure they’re oven safe.
(Looking for another use for your mini cocottes? Make vegan feta cheese!)
Step by step instructions
Here’s how to make this veggie pot pie recipe at a glance.
For complete ingredient amounts & instructions, keep scrolling to the recipe card below.
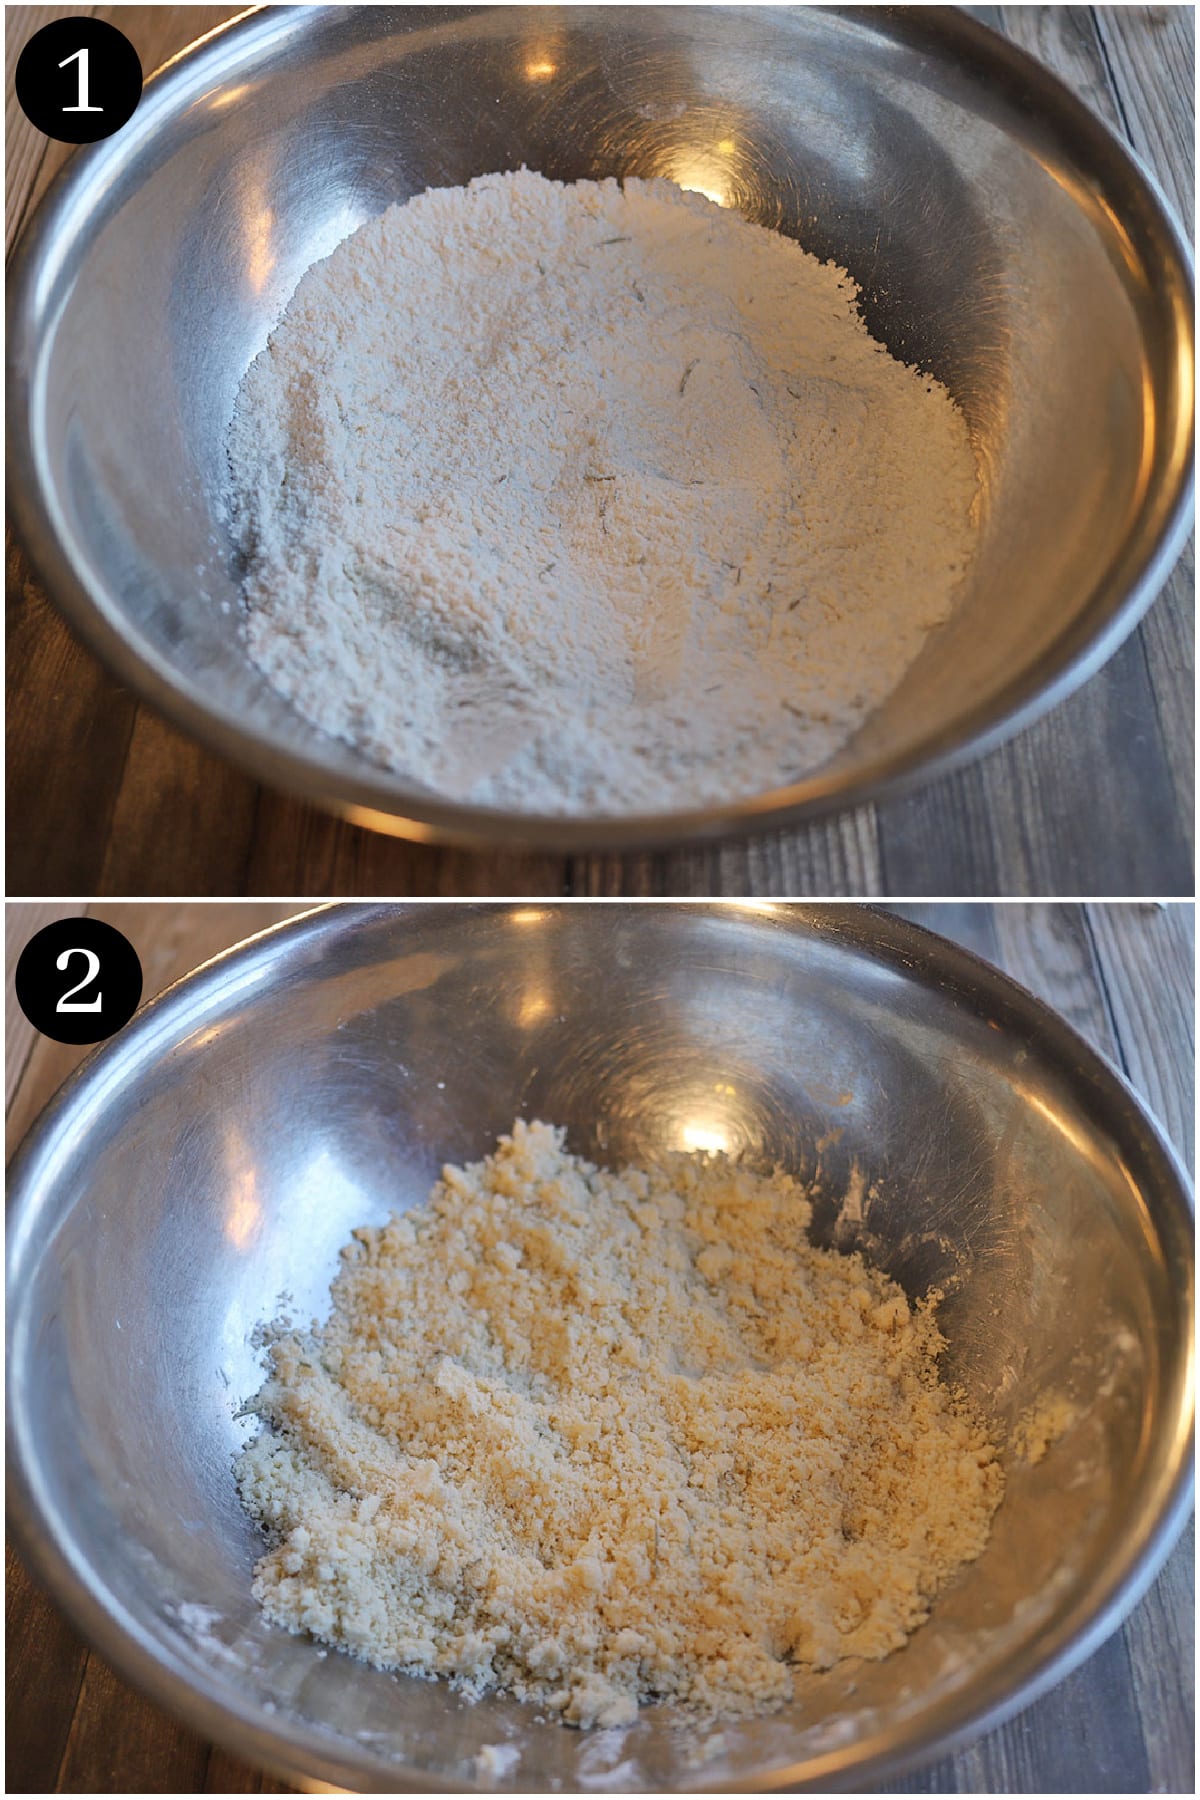
1. Combine the following in a mixing bowl:
- All-purpose flour
- Salt
- Dried rosemary
2. Add non-dairy butter. Combine with fingers until it has the texture of small pebbles.
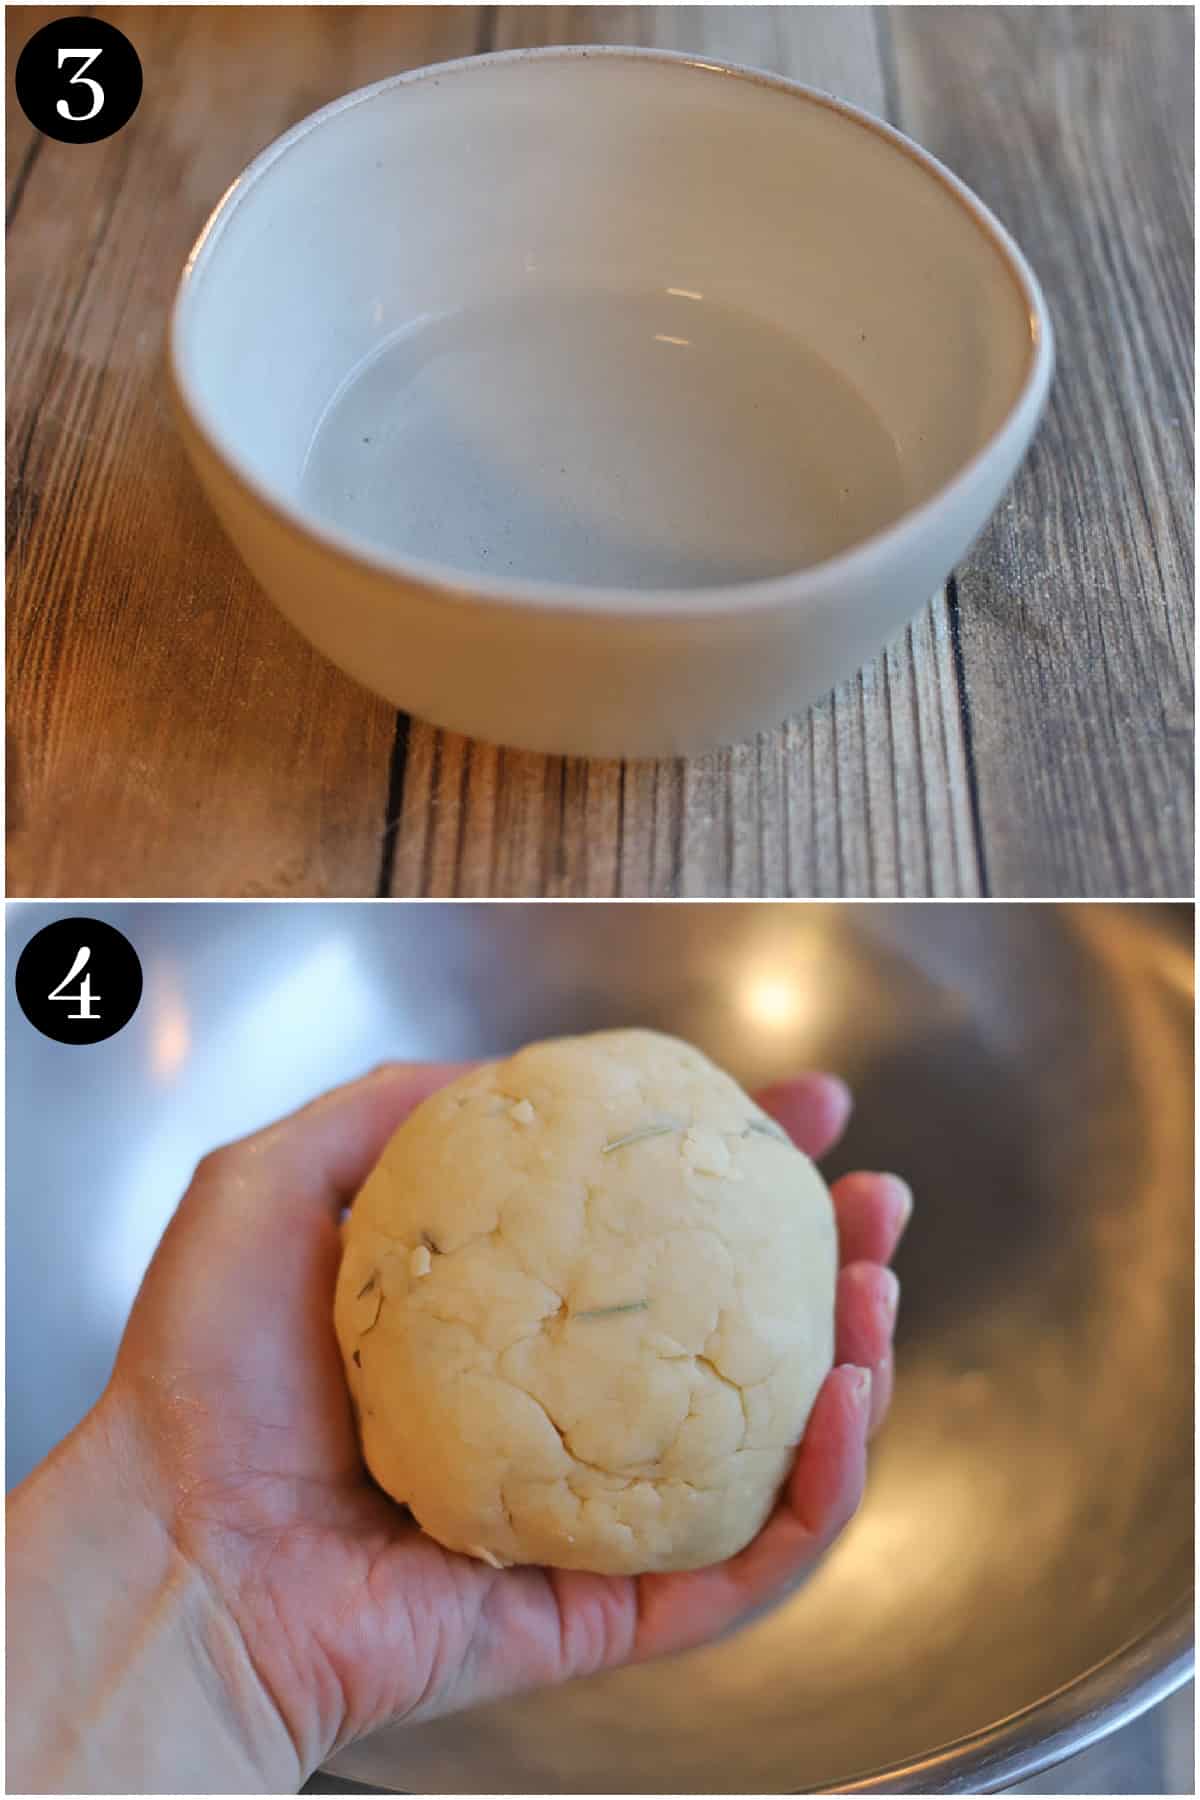
3. Combine ice water and white wine vinegar in a small bowl.
4. Add the water/vinegar mixture to the flour. Use your hands to combine the wet & dry mixtures until a dough ball has formed.
Wrap in plastic wrap & move to the refrigerator to cool.
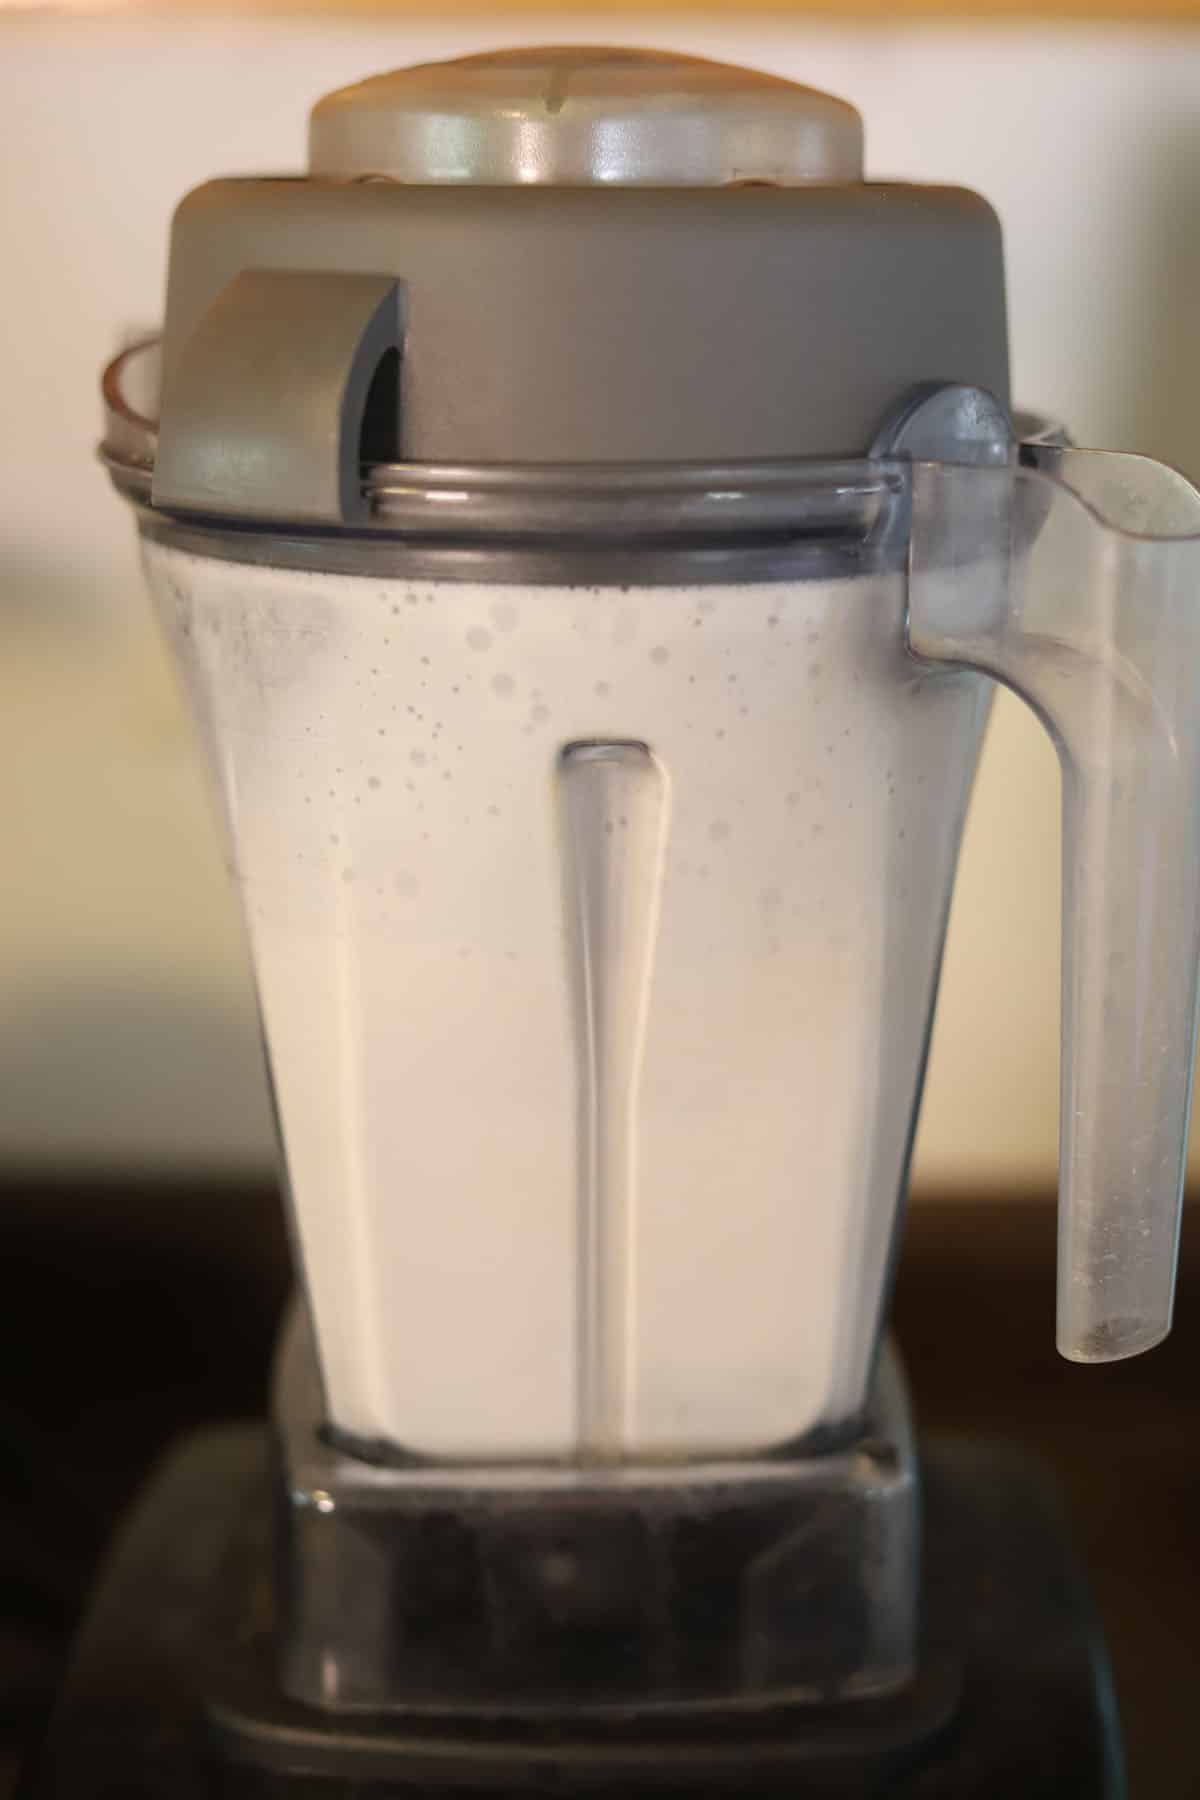
5. Combine the following in a high-speed blender:
Blend until smooth.
(Don’t have a high-speed blender? Check out the workarounds in the notes section of the recipe box.)
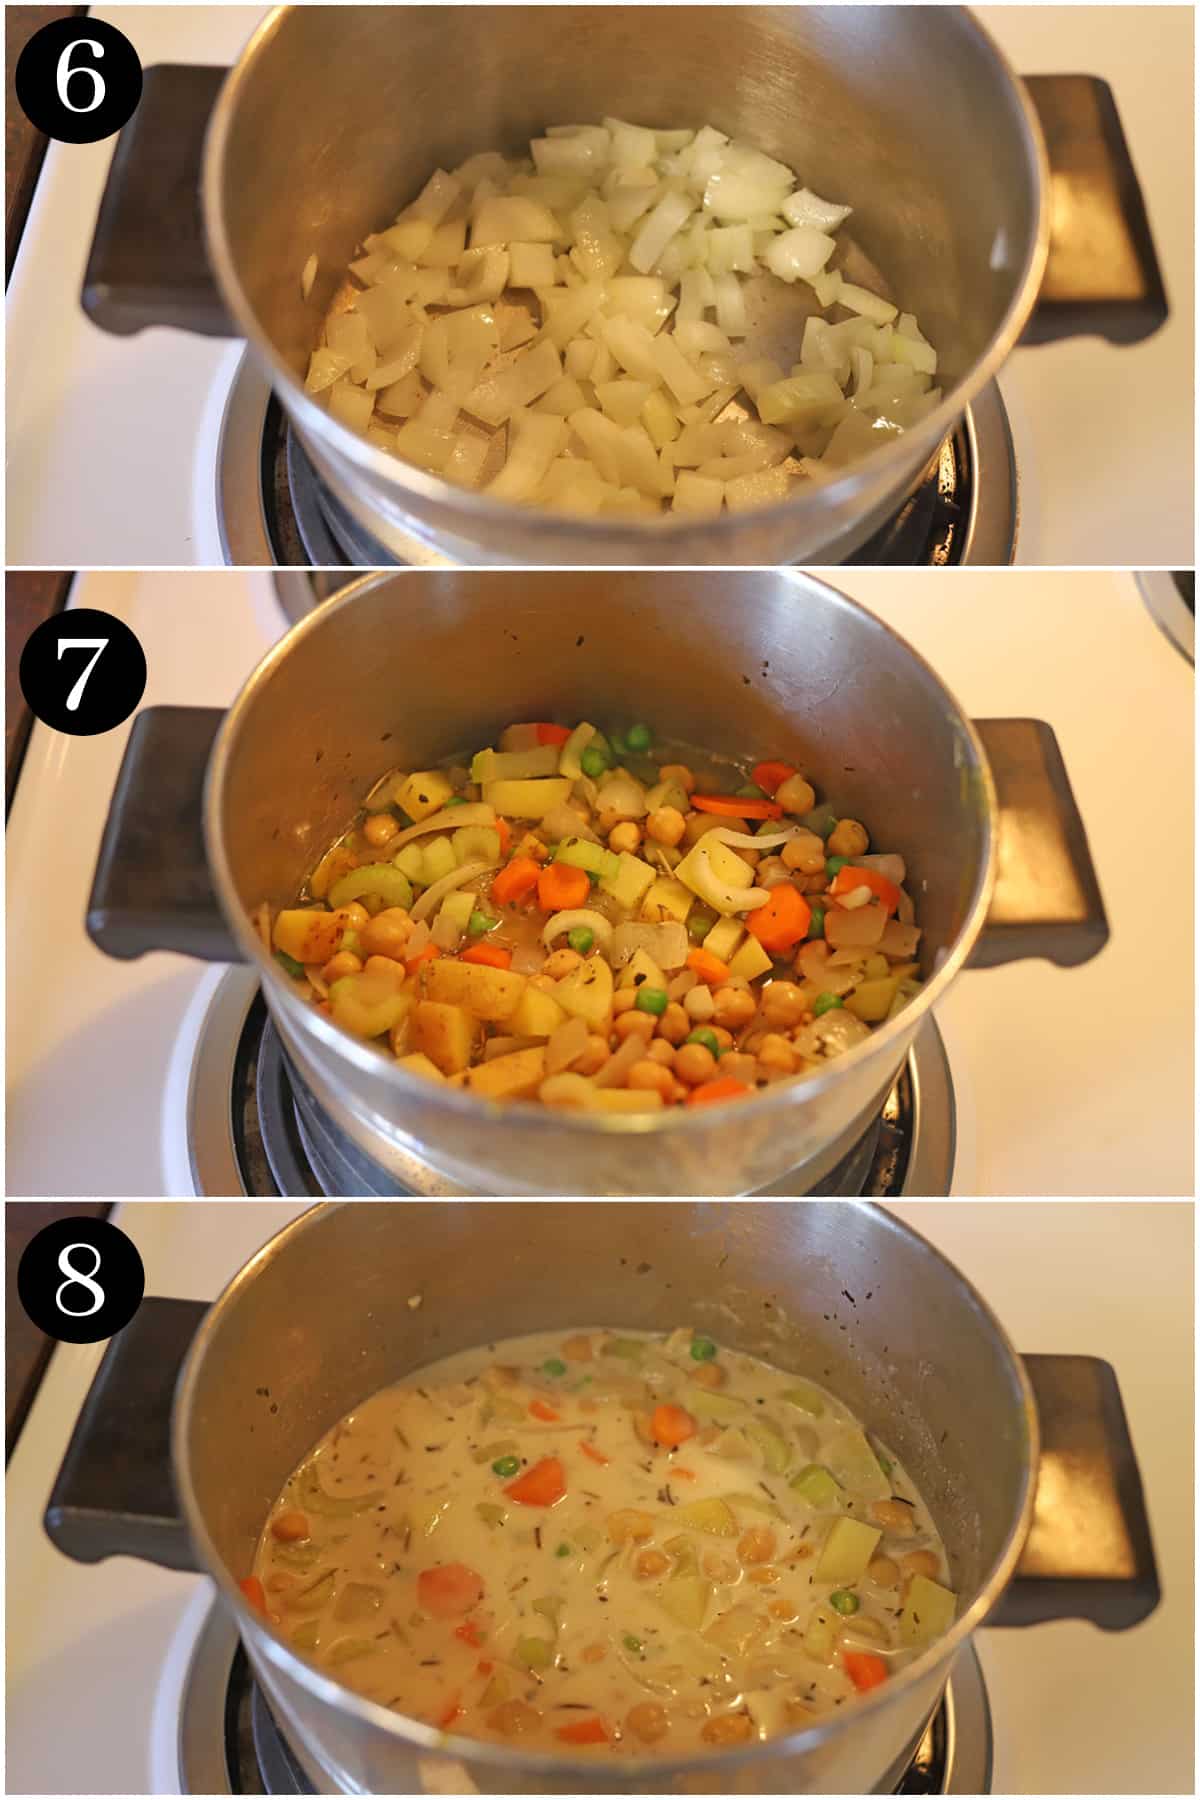
6. Sauté onions in soup pot with oil until softened & fragrant.
7. Add the following:
- Garlic
- Celery
- Dried rosemary
- Dried basil
Sauté a minute more.
Then add:
- Water
- Bouillon
- Carrots
- Potatoes
- Green peas
- Salt
- Drained chickpeas
Bring to a simmer & cook about 7 minutes.
8. Add cashew cream from blender & cook 5 minutes more.

9. Ladle pot pie filling into cocottes or ramekins.
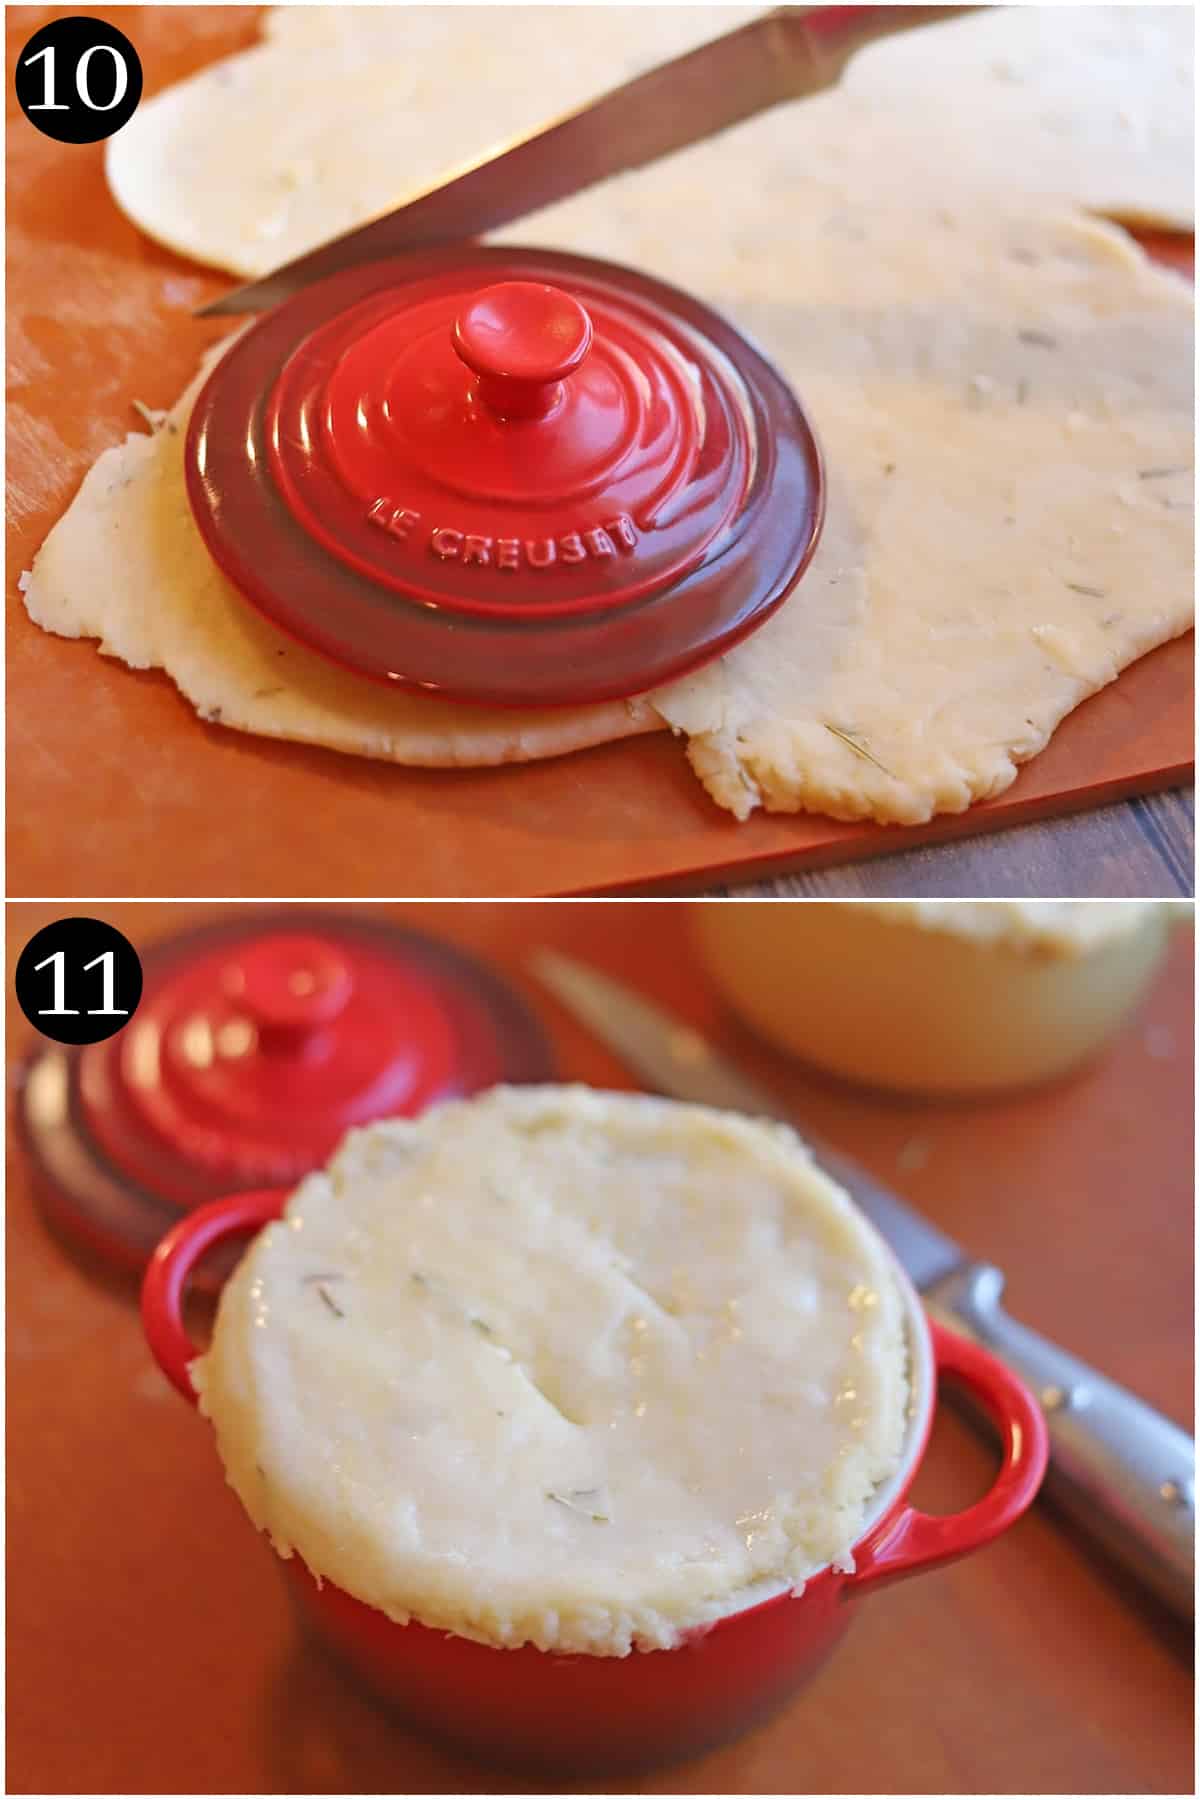
10. Roll out pie dough thin. It needs to be able to cover 5 pot pies. Use a biscuit cutter or cocotte lid as a guide to cut circles.
11. Put individual crusts onto each pot pie. Pinch around the edges to seal. Cut slits into each pot pie. Brush the tops with chickpea liquid (aquafaba) for better browning.
12. Bake mini vegan pot pies on a baking sheet for 30 minutes, until golden brown.
Make it your own
You can make this recipe your own by varying the ingredients or amounts.
- Replace onions with leeks or shallots
- Replace water + bouillon with 1 ½ cups of vegetable broth or vegetable stock in the filling
- Replace Russet potatoes with yellow potatoes or sweet potatoes
- Replace any of the veggies with an equal amount of corn, green beans, mushrooms, or cauliflower
- Replace chickpeas with Great Northern beans, cannellini beans, or 8-ounces of chicken-style seitan
- Instead of brushing the tops with aquafaba, brush with melted vegan butter or liquid Just Egg
- Instead of making individual pot pies, make a full-sized vegan pot pie
Serving ideas
Mini vegetable pot pies are such an eye-catching main course.
Plus, they’re already packed with good-for-you ingredients.
Fill out the meal with any of the following side dishes:
Storage & reheating
Pot pies are at their creamiest & sauciest when they are fresh out of the oven. However, they are still delicious reheated.
Loosely cover pot pies in cling wrap, and refrigerate.
They will keep for 3 or 4 days.
Reheat in the microwave until warm.
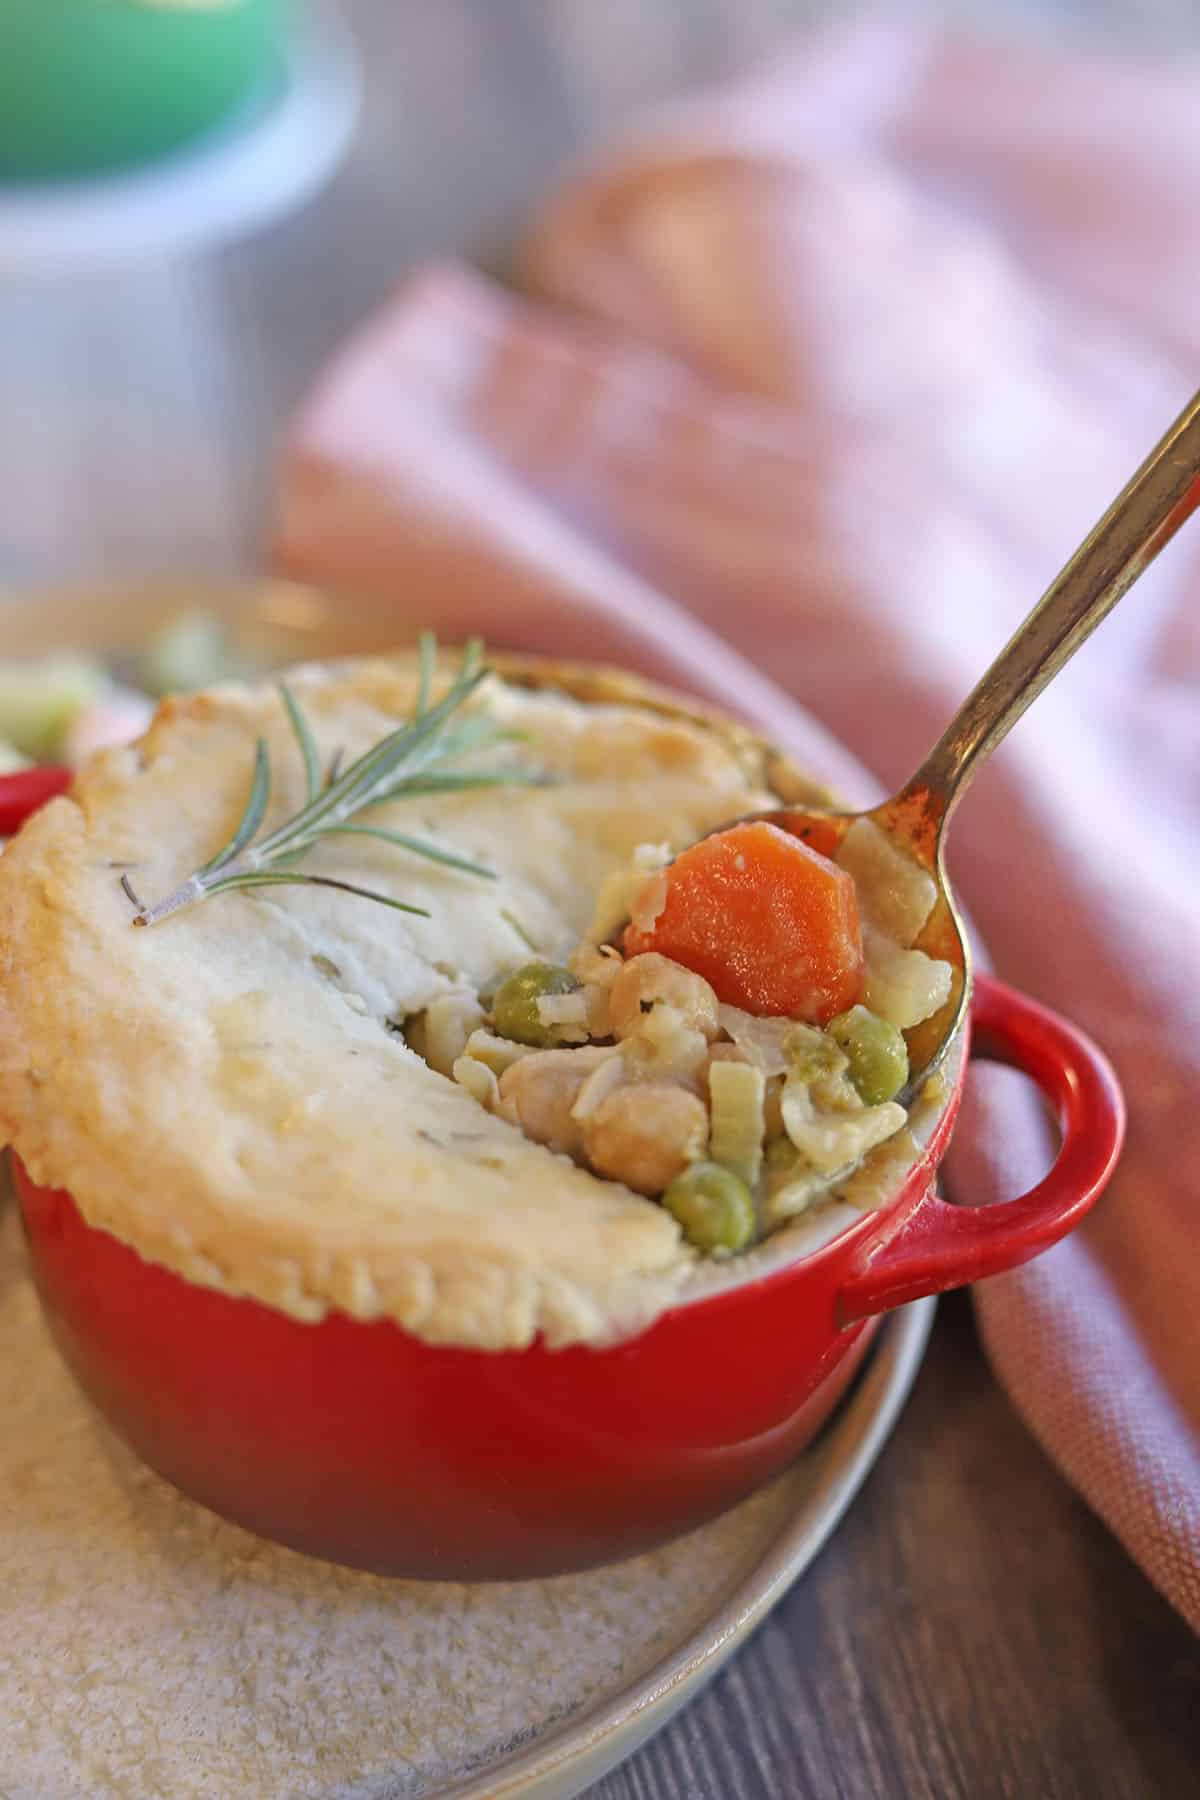

Mini vegetable pot pies
Mini vegetable pot pies are a perfect main course for a cold winter day or holiday gathering. They are packed with vegetables & chickpeas in a creamy cashew sauce.
Servings: 5 people
Calories: 522kcal
Instructions
To make the pot pie filling
-
Preheat oven to 400 degrees.
-
Put the raw cashews into a high-speed blender with ½ cup of water. Blend until it is a completely smooth, thick cashew cream. Set aside.(Don’t have a high-speed blender? See the notes section for workarounds.)
-
Bring a soup pot to a medium heat with extra virgin olive oil. Saute onion in oil for about 5 minutes, until it has softened slightly and is fragrant.
-
Add garlic, celery, dried rosemary, dried basil, and saute for a minute more.
-
Add remaining 1 ½ cups water, vegetable bouillon, carrots, potato, green peas, salt, and drained chickpeas. Bring to a simmer. Then lower heat, cover, and cook for 7 minutes, until the potato has softened slightly.
-
Add cashew cream from blender and cook for 5 minutes more over a low medium heat, so that the cashew cream can reduce slightly and flavors can combine. Stir occasionally.
-
Use a ladle to put even amounts of the pot pie filling into each 8-ounce cocotte or ramekin. Using fingers or a pastry brush, spread a thin layer of the saved chickpea liquid onto the top edge of the cocottes.
-
Roll out the pot pie dough with a rolling pin. It should be thin enough that you can get 5 mini tops for each pot pie. (You may need to gather the scraps and roll out again for the fifth pot pie lid. That’s fine.) You can use a biscuit cutter to cut out the tops. Or use a knife and a cocotte lid or extra ramekin as a guide to trace. If you use the cocotte lids/ramekins as a guide, you may need to roll each one out a little bit further to fully cover the pot pie.
-
Put an individual crust onto each cocotte and pinch around the edges to seal. Use a sharp knife to put a few vent holes into the top of each pot pie. Use fingers or pastry brush again to lightly spread chickpea liquid across the top of each crust for better browning.
-
Put the cocottes/ramekins on a baking sheet, so that if the pot pie filling bubbles over, it will fall onto the baking sheet and not the oven.
-
Bake for 30 minutes. When they are ready, the tops will be a nutty brown color. Remove from oven and allow the pot pies to rest for at least 10 minutes before serving. (The filling will be quite hot.)
Notes
The chickpeas can be replaced with white beans or 8-ounces of chicken-style seitan.
Replace any of the veggies with an equal amount of corn, mushrooms, or green beans.
Standard blender instructions
If you don’t have a high-speed blender, you’ll need to use ONE of the following workarounds for perfect blending.
- Grind dry raw cashews in a clean coffee grinder until they are the texture of flour. Then add it to your standard blender with water.
- Put raw cashews in a bowl & soak them in water for several hours to soften. Then drain & continue with the recipe as written.
- Boil raw cashews in water for about 10 minutes. Then drain & continue with the recipe as written.
Cool dough rolls easier
Pot pie dough rolls a bit better if it has chilled for at least an hour or overnight.
If you want to make the dough ahead of time, it also freezes beautifully in one ball. You’ll just need to move it to the refrigerator to thaw for at least 24 hours before you plan on making your pot pies.
Storage & reheating
Store any leftover pot pies in the refrigerator, lightly covered with cling wrap. They will keep for 3 or 4 days.
Reheat in the microwave until warm.
Nutrition
Calories: 522kcal | Carbohydrates: 62g | Protein: 15g | Fat: 24g | Saturated Fat: 4g | Sodium: 746mg | Potassium: 718mg | Fiber: 10g | Sugar: 8g | Vitamin A: 2320IU | Vitamin C: 13.1mg | Calcium: 84mg | Iron: 5.6mg
Content, photos, and recipe updated November 30, 2022. Originally posted December 8, 2016.


